W-9 Form 2024
Complete the fillable form to safely and legally share your Tax ID Number with your clients.
Fill out & send W-965f013686d1834a70e07c82d
65f013686d1834a70e07c82d

65f013686d1834a70e07c82d
Complete the W-9 form to provide your taxpayer identification information as a contractor or vendor
Fill out & send W-965f013686d1834a70e07c82d
Complete the fillable form to safely and legally share your Tax ID Number with your clients.
Fill out & send W-965f013686d1834a70e07c82d
65f013686d1834a70e07c82d

Create the form template once and use it again anytime from any device —
no more retyping, just quick and easy updates.
Finish W-9 in 3 Steps
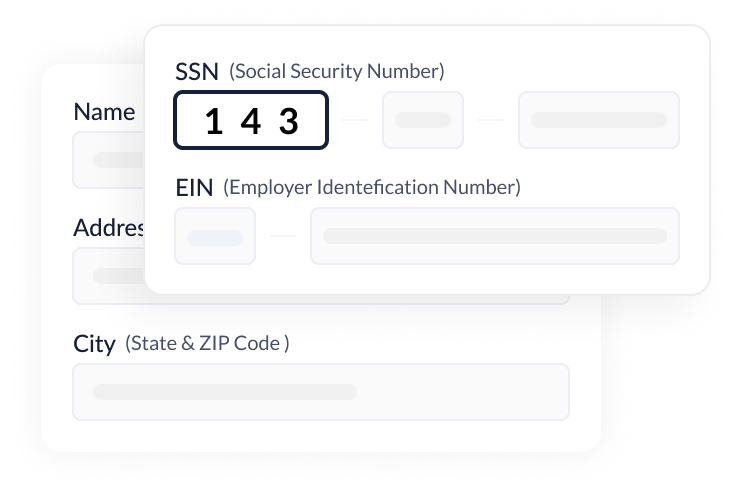
Enter your details and Tax Identification Number (SSN or EIN).

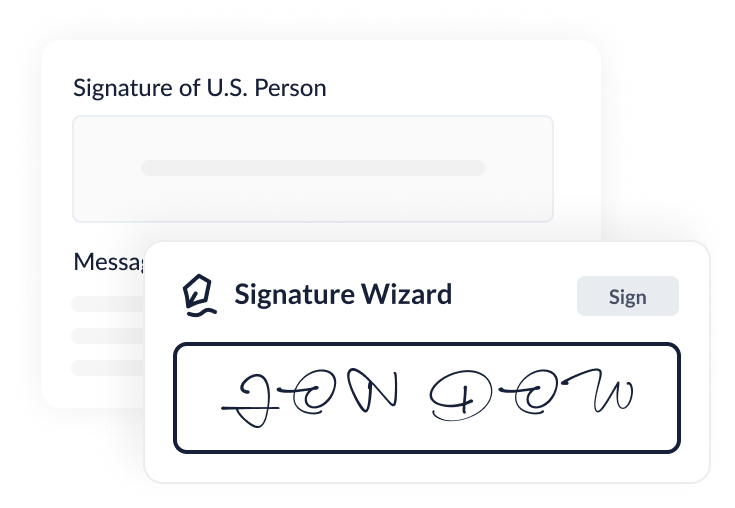
Add your eSignature by clicking "Sign Field" at the end of Part II.

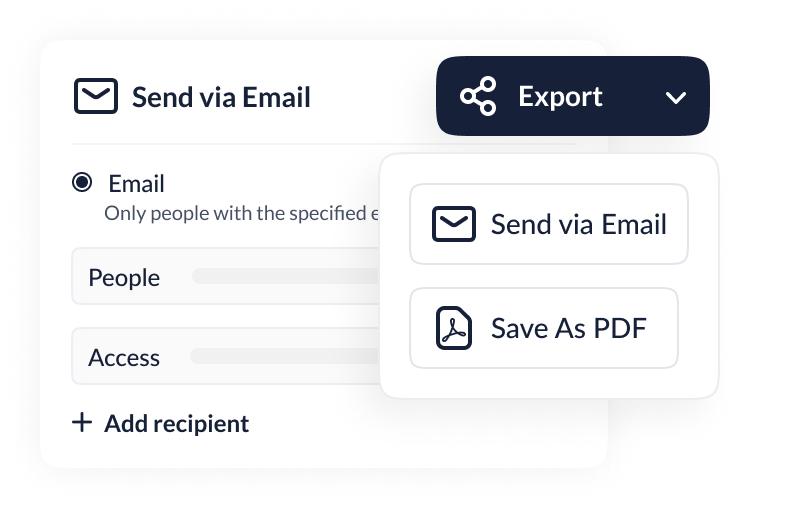
Tap the “Export” button and opt to “Send via email” directly or download as PDF.

W-9 is the IRS-recognized way to request a U.S. person's TIN along with other essential tax data. It's commonly used by businesses to collect Social Security Numbers (SSNs) or Employer Identification Numbers (EINs) from their freelance talents and independent contractors to correctly fill out Form 1099-NEC (starting from 2020) or, in some cases, Form 1099-MISC.
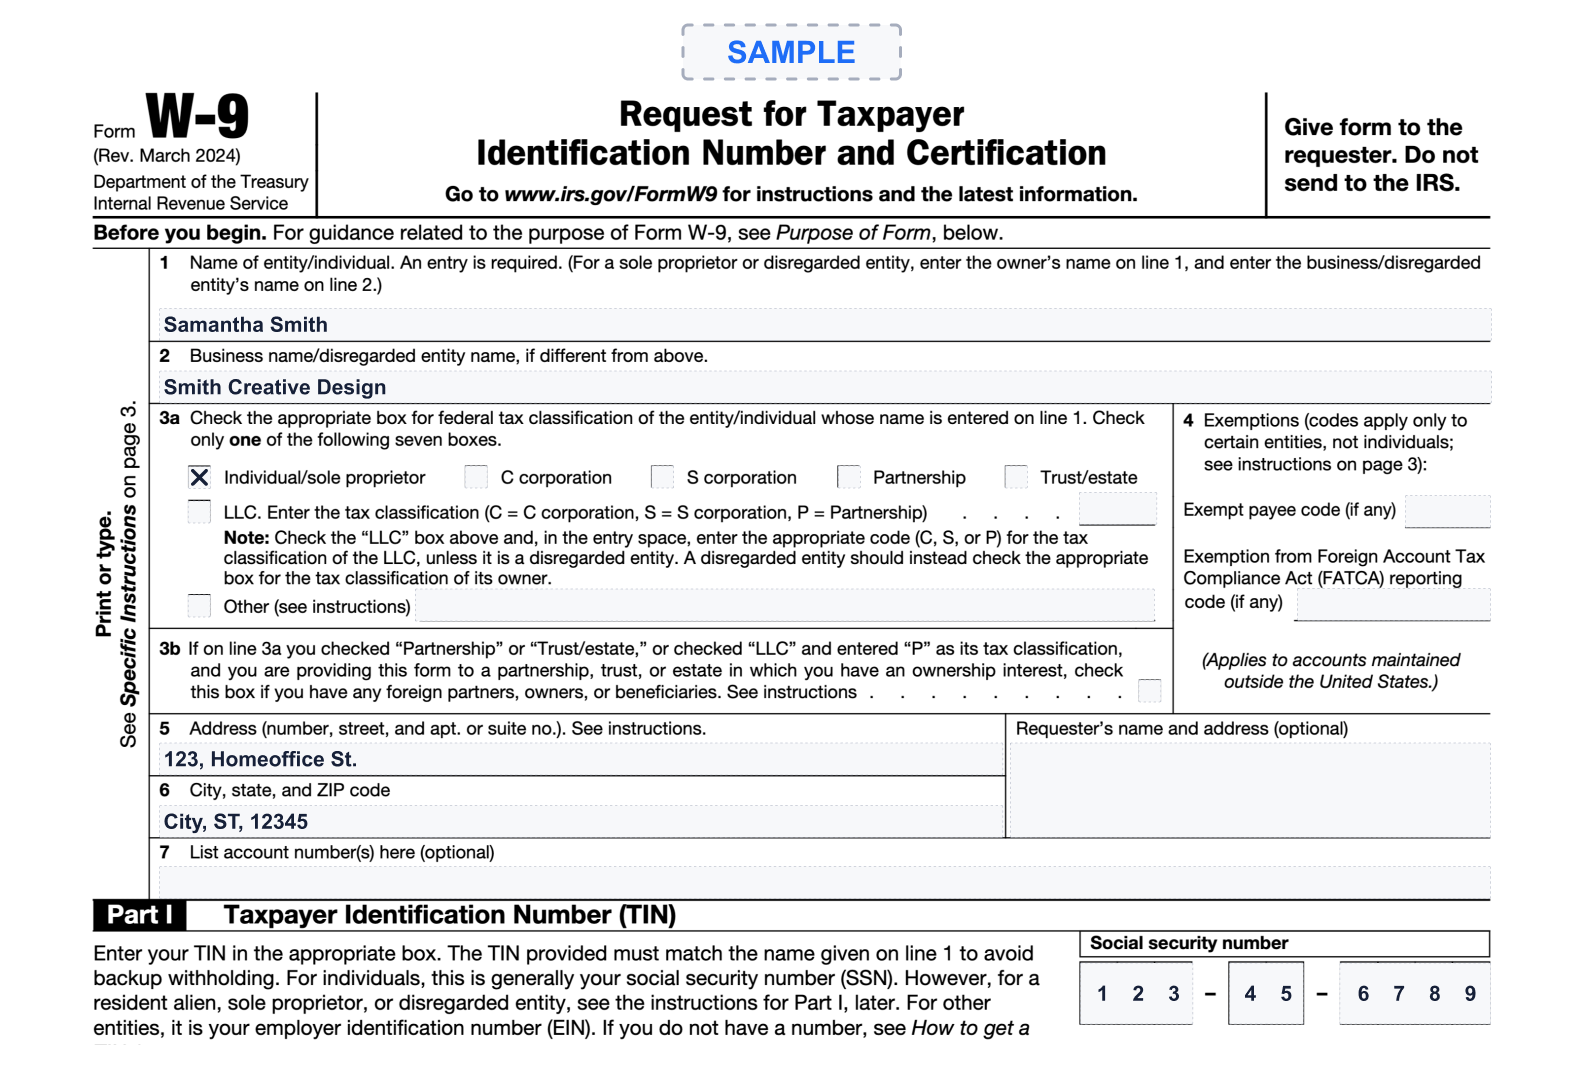
First of all, take a look at this W9 example. It will help you create your document way faster. This is how a filled PDF would look like in most cases.

You can finish the document in a couple of minutes and email it straight from the editor to the requester.
Initiate the process by clicking the “Complete W-9 now” button to open the form in user-friendly editor.
Input your legal name exactly as shown on your Social Security card or official identification. If you are operating under a different business name, include that in the following line.

For instance, if your legal name is Samantha Smith and your freelance graphic design business is called "Smith Designs" write "Samantha Smith" on the first line and "Smith Designs" on the second line.
On the third line, mark the box that accurately represents your tax status. As a contractor or freelancer, you would typically choose the "Individual/sole proprietor or single-member LLC" box.

Line 3b: Indicate if your business has foreign partners, owners, or beneficiaries. (The IRS added this new line in the 2024 revision to enable requesters to access information about any foreign affiliates involved to fulfill all reporting obligations.)
In our example, Samantha Smith would check the first box since she runs a freelance graphic design business by herself.
In most cases, you would leave this section blank. However, if you have any applicable exemption codes based on your business type or tax situation, enter them in the designated fields. Note the correct code if you're exempt from backup withholding or are subject to a unique tax exemption.
Fill in your mailing details, giving the house number, street name, city, state, and ZIP code. This address is where the payer will send any necessary tax paperwork, such as 1099 forms. In this example, Samantha Smith would enter her home address since she works from home.

Since Samantha Smith operates as a sole proprietor, she would enter her SSN.

Before you wrap up, it's time for a quick review. Make sure every piece of info is on point and correct.
Once you've double-checked the W-9, sign and date it at the bottom, confirming all information is accurate.
This means that you are giving your allowance to use your personal information in Forms 1099.

Click on the “Sign Field” → Choose the “My Signature” option → Type, draw, or upload your signature → Click the “Sign button”

Click the “Export” button → Choose the “Send by Mail” option → Add the requester's email → Write an email providing your name in the subject line
Fill out the form once and store the template in a secure place. It will save you a lot of time and effort; all you'll need to do in the future is to change the requester's name and date.
Save information of everyone to whom you send the W-9. You can use the “Requester's name and address” line to specify their info and store all your W-9s in one place. This way, you'll always know who can access your personal tax information.

The most common mistake with the IRS W-9 Form is writing an incorrect TIN. This can result in delayed payments, unexpected tax audits, and potential penalties for you and the client. So it's always better to check twice before sending.
If your client requested the form after they paid you, the best thing for your relations would be to send it as soon as they requested so they have all the needed information before January 31 (the first Form 1099 deadline).
If you don't want to share your Social Security Number, we recommend using an Employer Identification Number. As a sole proprietor, you can apply for it online and get it only in 15 minutes.
Ensure you know your federal tax classification, as it affects how you report income. If you need more clarification, consult with a tax professional before selecting the form.
While the W-9 primarily collects federal tax information, some states require their own identification numbers. Check the State FTA Members List to find your local tax authority for state-specific requirements.
Fill out & send W-9